



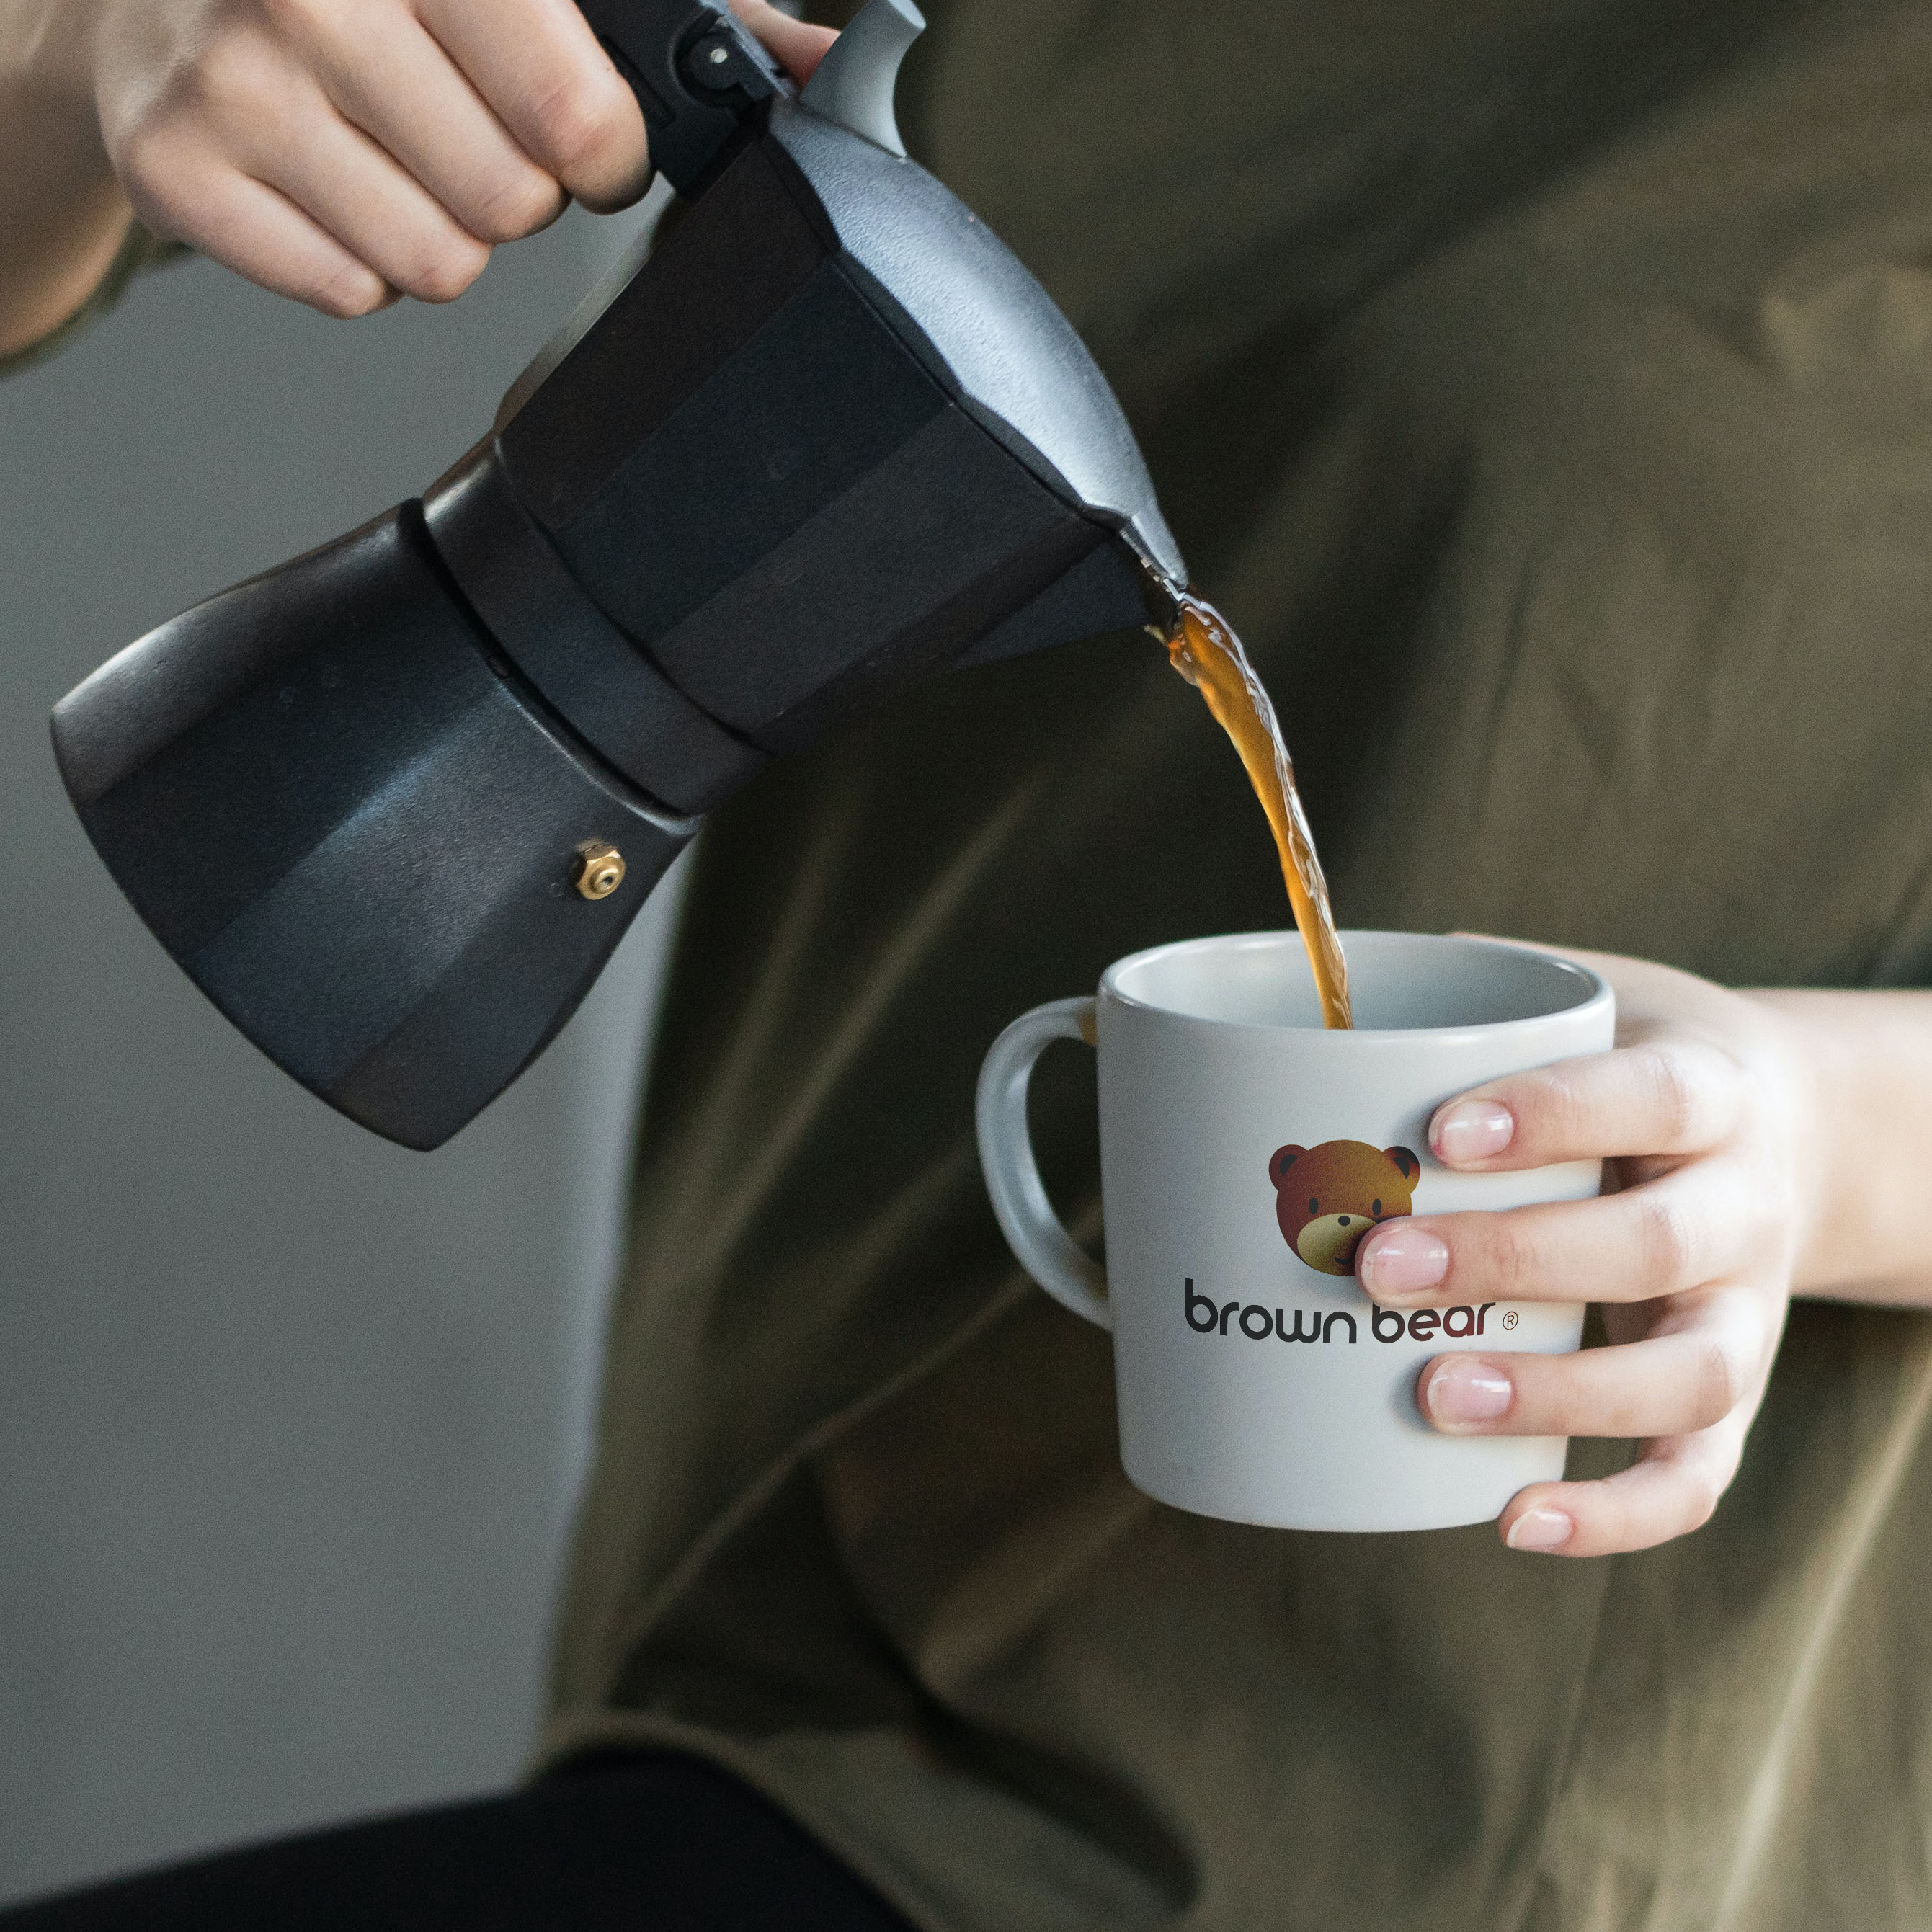
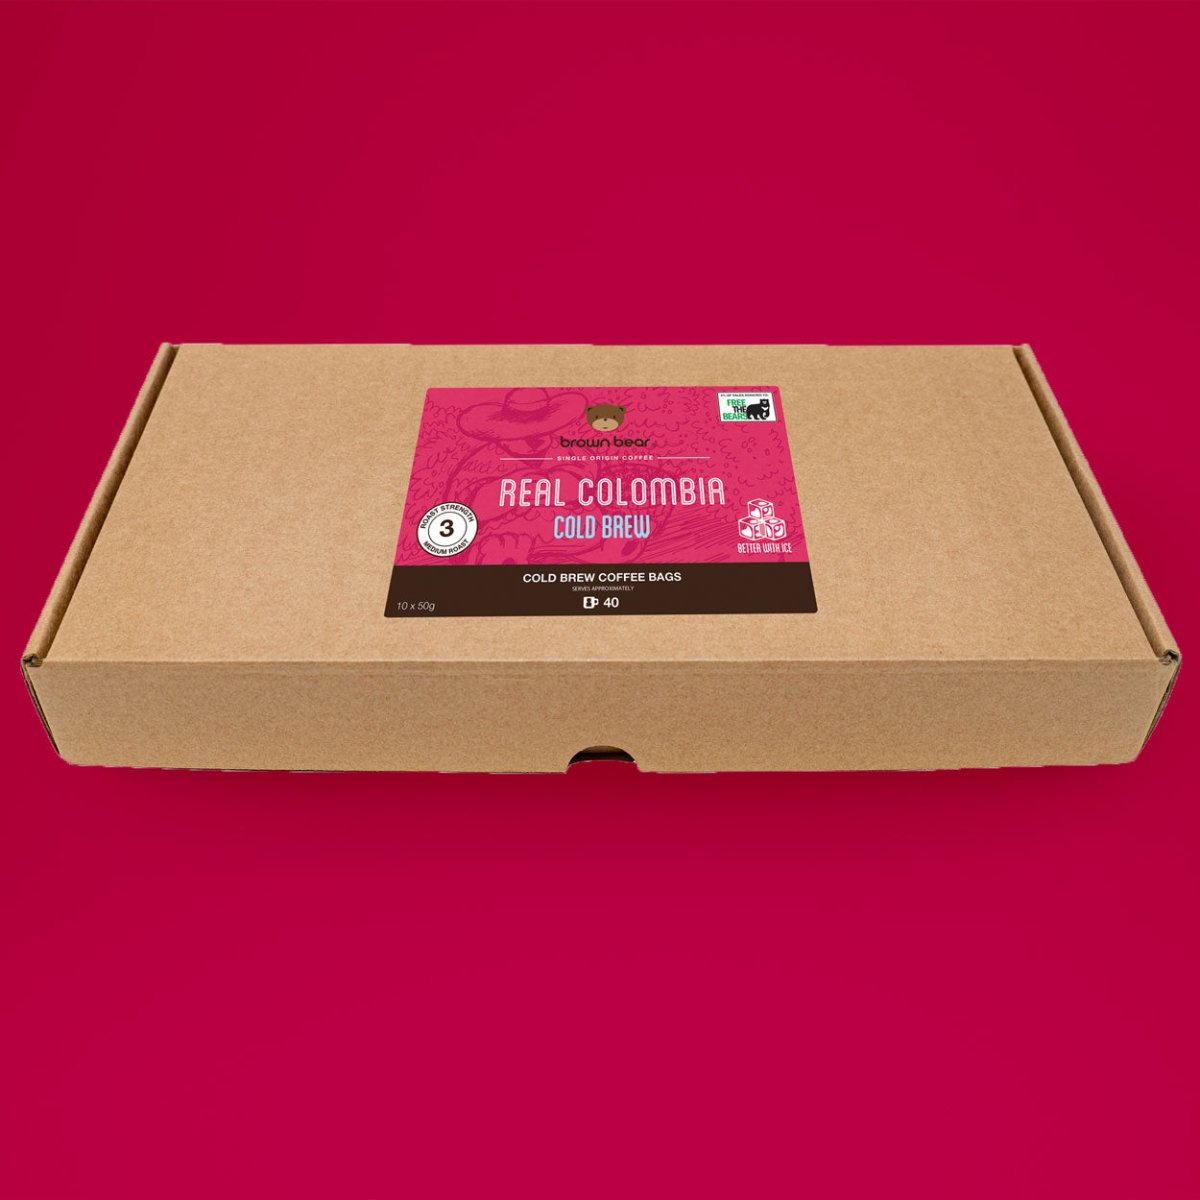









A coffee bag is the answer when you want proper coffee without getting the cafetière, grinder or filter papers involved. Learning how to brew coffee bags takes barely more effort than making tea, but a few small choices - especially water temperature and steeping time - make a real difference to flavour.
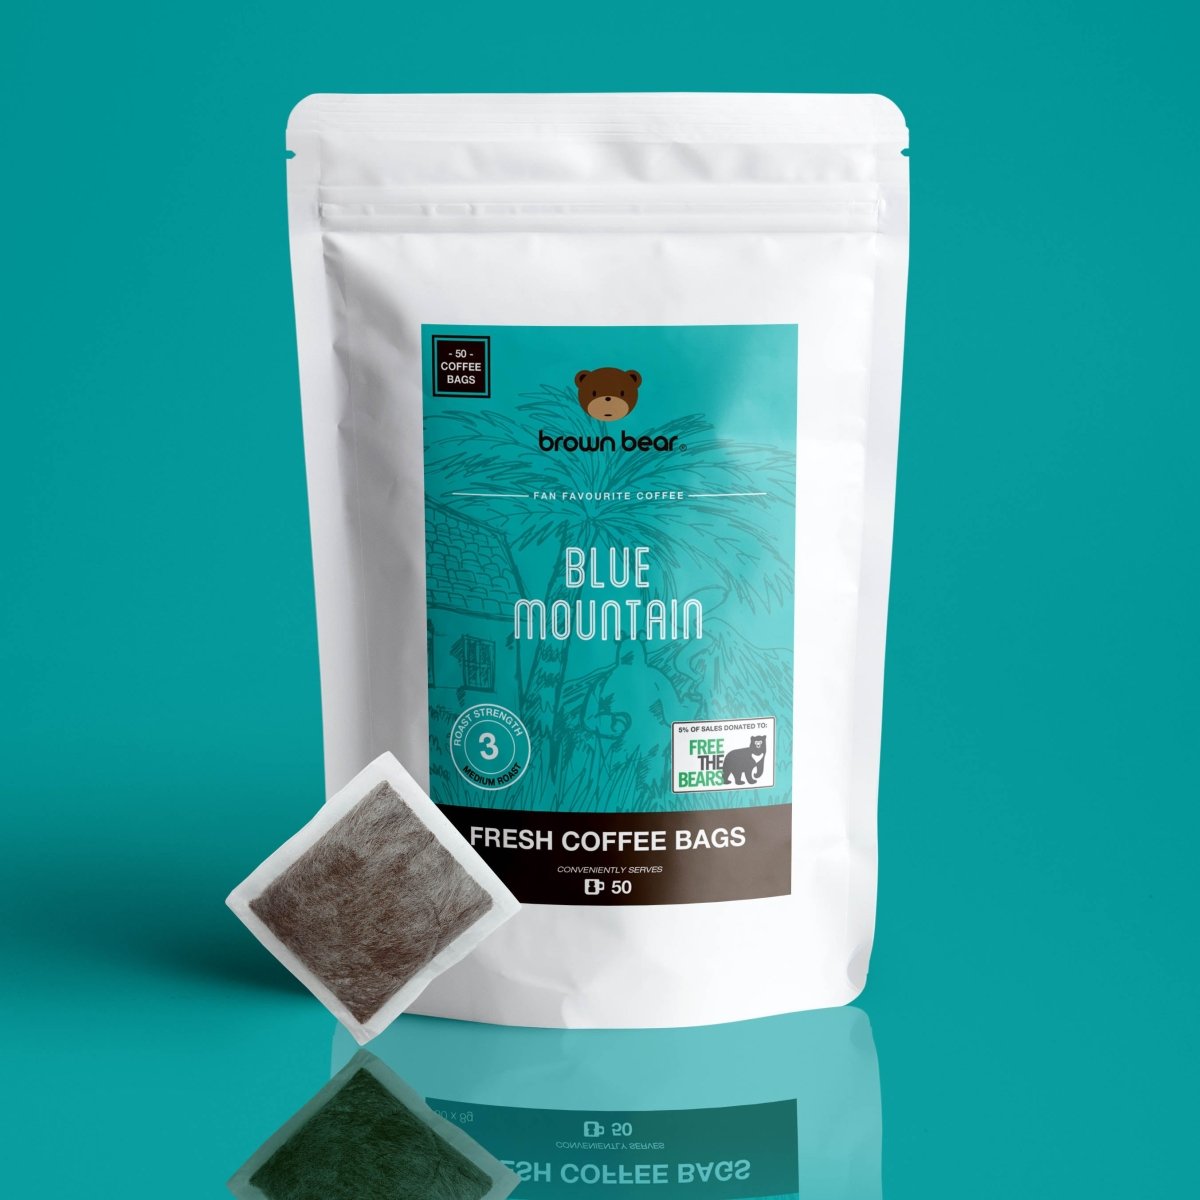
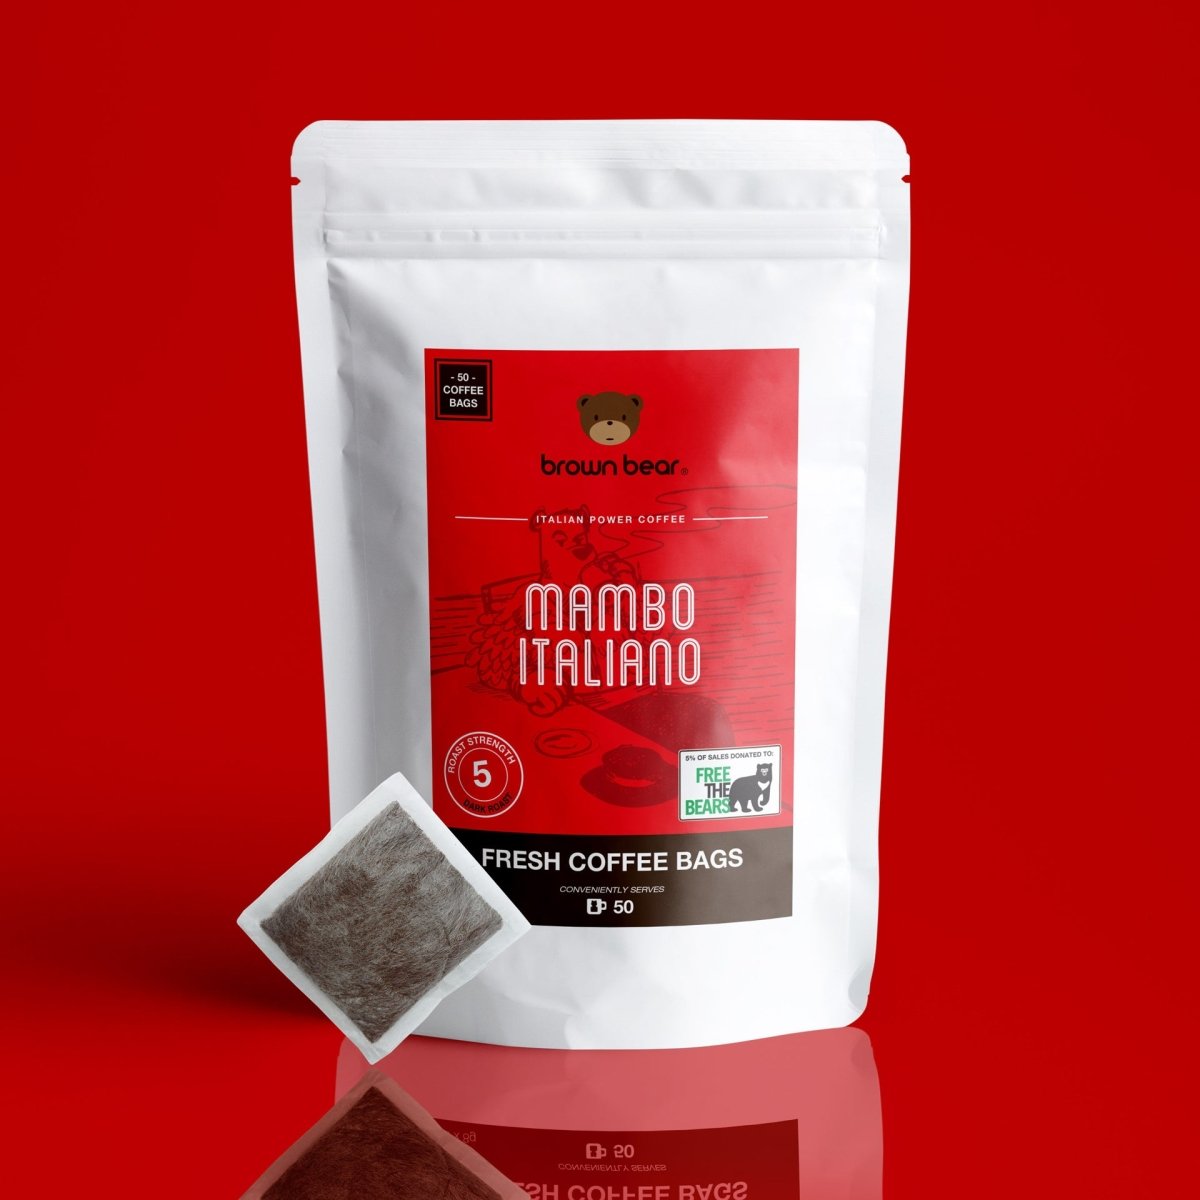
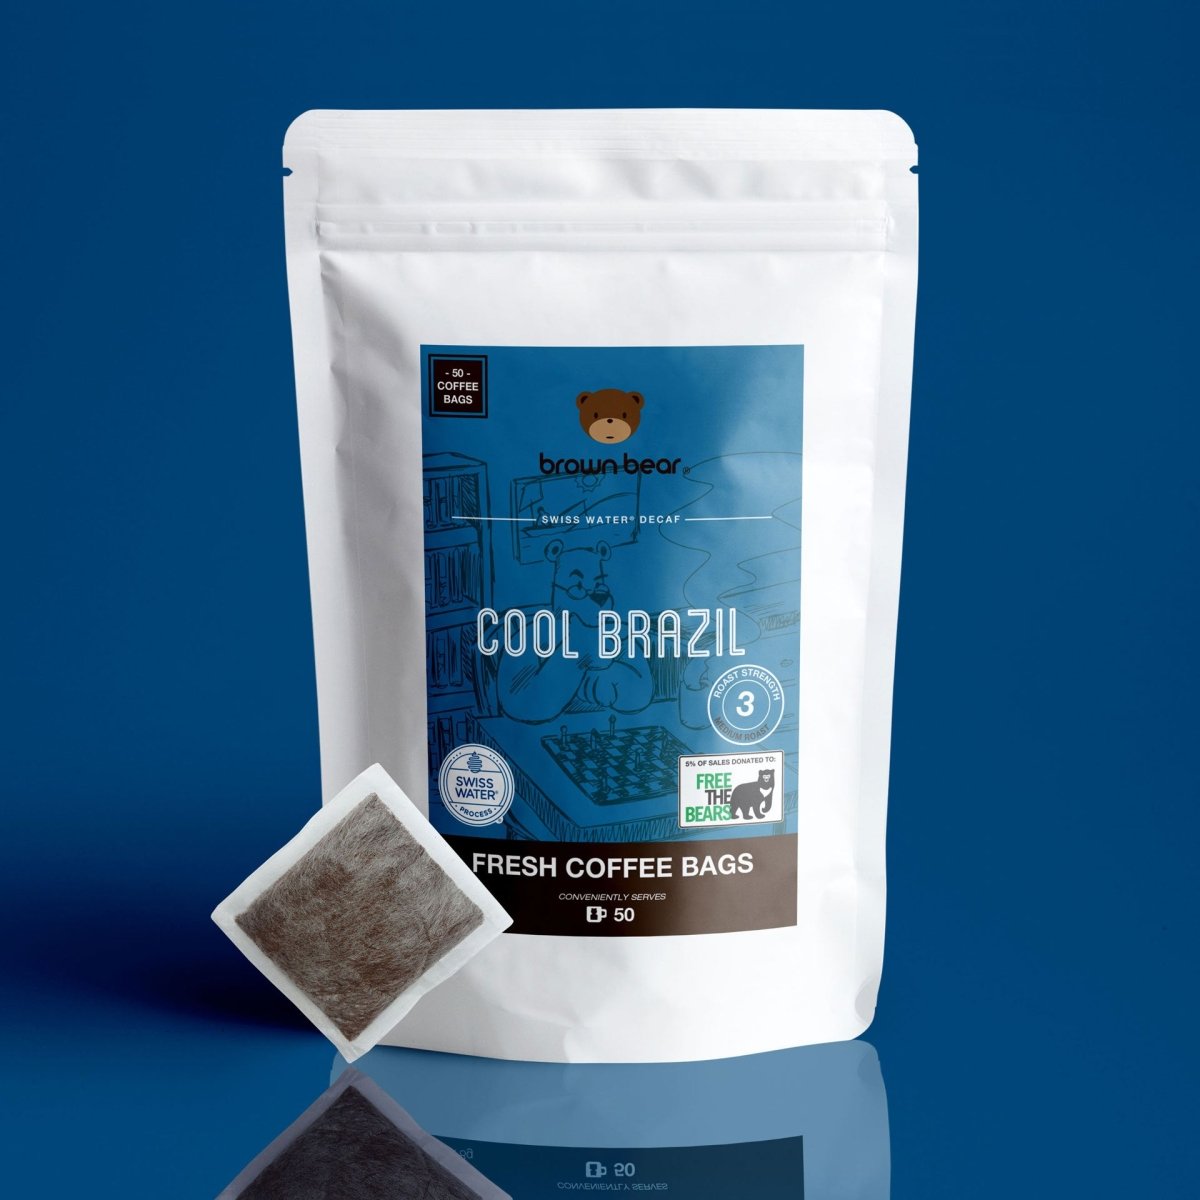
Coffee bags contain ground coffee in a filter pouch, ready to steep directly in your mug. They are tidy, portable and reliably easy to use, whether you are making your first cup at home, working from a hotel room or packing light for a weekend away. The goal is simple: give the coffee enough time to release its flavour, without leaving it in so long that the cup turns harsh.
What you need to brew coffee bags
You only need a coffee bag, a mug, freshly boiled water and a spoon. A larger mug is useful, as it gives the bag room to move while it steeps. If you like milk, have it ready, but taste the coffee black first if you can. It is the easiest way to understand the roast and strength you have chosen.
Water matters more than most people expect. Freshly drawn cold water makes a cleaner-tasting cup than water that has been boiled repeatedly in the kettle. If your tap water has a particularly strong taste, filtered water can make the coffee taste brighter and sweeter.
How to brew coffee bags step by step
Start by placing one coffee bag in your favourite mug. Boil the kettle, then let the water sit for around 30 seconds before pouring. Water straight off a rolling boil can make some coffees taste more bitter, particularly lighter roasts. You are aiming for hot water rather than aggressively boiling water.
Pour approximately 200ml to 250ml of water over the bag. Make sure it is fully covered, then give it a gentle stir or dunk it a couple of times. This helps the water reach all the coffee inside the pouch instead of extracting only from the outside.
Leave the bag to steep for four minutes. This is a dependable starting point for most coffee bags and produces a balanced cup with good body. Stir or gently squeeze the bag against the side of the mug once or twice during brewing, but do not press it hard. Over-squeezing can push out fine coffee particles and bitter flavours.
After four minutes, lift out the bag and let it drain briefly over the mug. Dispose of it, then add milk or sugar if that is how you enjoy your coffee. Give the cup a final stir and drink it while it is fresh.
The process is straightforward, but it is not one-size-fits-all. Your mug size, the roast level and your own taste all affect the best brew time.
A quick guide to steeping time
If you prefer a lighter, gentler cup, remove the bag after three minutes. This can work particularly well with a light or medium roast where you want to keep delicate fruit, caramel or floral notes clear.
For a fuller everyday coffee, steep for four minutes. It is a reliable middle ground for most drinkers and gives enough strength to stand up to a dash of milk.
If you like a powerful cup, try five minutes before changing anything else. Darker roasts often suit the longer steep, bringing out cocoa, toasted and rich notes. Beyond five or six minutes, coffee can become dry or overly bitter, so stronger is not always better.
Get the water temperature right
The easiest rule is to boil your kettle, wait 30 seconds, then pour. If you use a temperature-controlled kettle, aim for roughly 92-96°C. This range extracts plenty of flavour without scalding the grounds.
There is one useful exception. For an ultra-dark roast or a coffee you know tends towards bitterness, wait closer to a minute before pouring. Slightly cooler water can soften the edges while keeping the cup satisfying and full-bodied. For light roasts, use hotter water and give the bag its full four-minute steep to bring out more of its character.
Avoid lukewarm water. Coffee bags need heat to brew properly, and water that is too cool will often leave the cup thin, sour or underdeveloped.
Choose the right mug and water amount
One coffee bag is usually designed for a standard mug, around 200ml to 250ml. A huge mug filled to the brim can dilute the coffee and make it seem weak, even when you have brewed it correctly. If you regularly use a 350ml mug, either fill it part way or accept a lighter drink.
For a stronger coffee without extending the steeping time too far, use a little less water. Try 180ml to 200ml rather than adding an extra bag immediately. This keeps the flavour concentrated without encouraging bitterness. If you are making coffee for a travel mug, brew the bag in a smaller amount of water first, then top up with hot water only if it needs it.
Milk changes the balance too. A dark roast with a generous splash of milk may benefit from five minutes of brewing, while a medium roast served black can be excellent at four. There is no prize for following the clock perfectly if the cup is not right for you.
Common coffee bag brewing mistakes
The most common problem is rushing. A one-minute dunk will make the water brown, but it will not give the grounds time to release enough sweetness and body. Let the bag steep properly before judging the coffee.
The next is forgetting to move the bag. You do not need to constantly bob it up and down, but a gentle stir at the start and halfway through helps produce a more even brew. Think of it as encouraging the process, not beating the coffee into submission.
Using too much water is another easy mistake. If your cup tastes weak, check the mug size before assuming the coffee bag is at fault. Reduce the water slightly, steep for an extra minute, or choose a darker, stronger roast for a bolder result.
Finally, do not leave a finished coffee bag sitting in the mug while you drink. The flavour keeps changing as it steeps. Remove it when the coffee tastes good, rather than letting the final sips become bitter.
Can you brew coffee bags cold?
Coffee bags are made for hot brewing, but you can make a chilled drink with them. Brew one bag in a smaller mug with around 150ml of hot water for four to five minutes, remove the bag, then pour the coffee over a glass packed with ice. Add cold milk if you like it creamy.
This will not taste the same as a slow-steeped cold brew. It is quicker, brighter and more like an iced coffee, which is often exactly what you want on a warm afternoon. For the cleanest flavour, avoid pouring hot coffee over just a few cubes of ice, as they will melt too quickly and water down the drink.
Make coffee bags part of an easier routine
Coffee bags work best when they make your daily coffee simpler, not when you overthink every cup. Keep a few at your desk, in your bag or in the kitchen cupboard for mornings when grinding beans feels like too much effort. They are also a smart option for guests, since everyone can choose a strength and add milk to suit themselves.
If you are trying different roasts, begin with the same method each time: 220ml of water, a four-minute steep and no milk for the first sip. Then adjust one thing at a time. A darker bag may need a little less water; a lighter one may shine with a touch more brewing time. Brown Bear coffee bags make this kind of everyday experimenting pleasantly straightforward.
A great cup does not need a counter full of kit. Start with fresh water, give the bag four unhurried minutes, and let your own taste decide where to go from there.

