









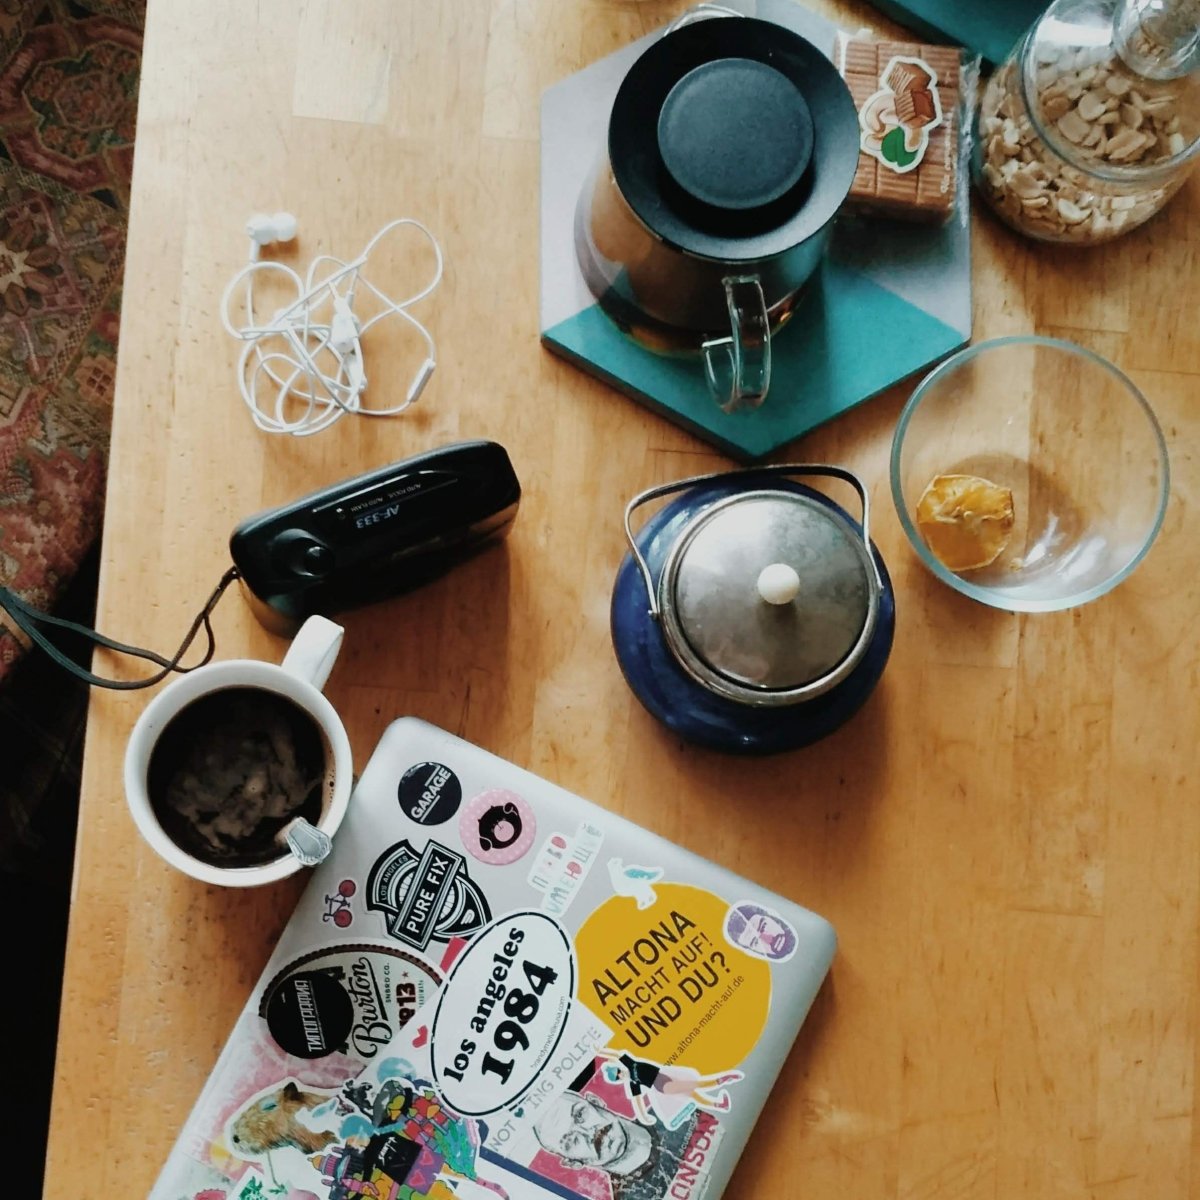


Ground coffee can make a genuinely excellent cup without turning your kitchen into a laboratory. The trick is knowing how to brew ground coffee for the equipment you already own, then making a few small adjustments when the flavour is not quite right. Start with fresh coffee, decent water and a simple ratio, and your weekday brew can be far more satisfying than a rushed spoonful-and-hope approach.
How to brew ground coffee: the three things that matter
A good brew comes down to dose, water and contact time. You do not need expensive scales or a gooseneck kettle to begin, but measuring rather than guessing will make your coffee more consistent. As a useful starting point, use 60g of ground coffee per litre of water. For one generous 300ml mug, that is around 18g of coffee. If you do not have scales, three level tablespoons is a reasonable guide, though tablespoons vary and scales are worth having when you want repeatable results.
Use freshly drawn cold water, ideally filtered if your tap water tastes strongly of chlorine or limescale. Bring it to the boil, then leave it for around 30 seconds before brewing. Water that is just off the boil is hot enough to bring out sweetness and body without scorching the grounds.
Finally, match your brew time to the method. Fine grounds extract quickly; coarse grounds need longer. Most ready-ground coffee is a medium grind designed to work well in a cafetière, drip filter or all-round brewer. It can still work in other methods, but the result may need a little patience and adjustment.
Choose a coffee you enjoy black or with milk
The roast you choose shapes the cup before you have poured a drop of water. A light roast often brings brighter fruit, floral notes and a cleaner finish. Medium roast coffee tends to offer balance, with caramel, chocolate or nutty notes that suit most brewing methods. Dark and ultra-dark roasts deliver a fuller, bolder flavour that stands up particularly well to milk.
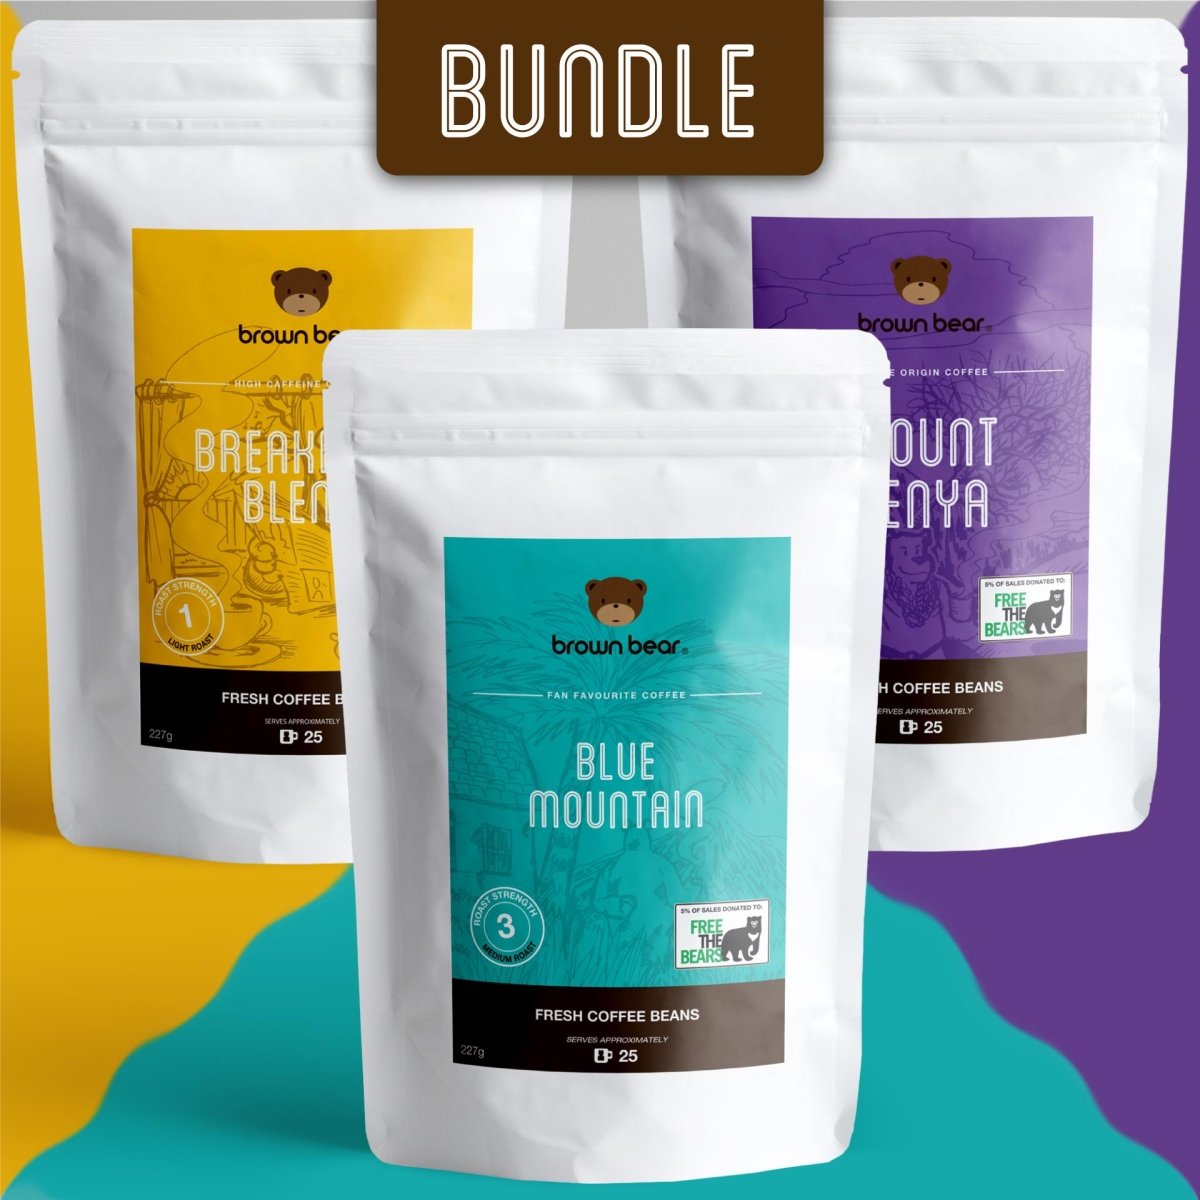
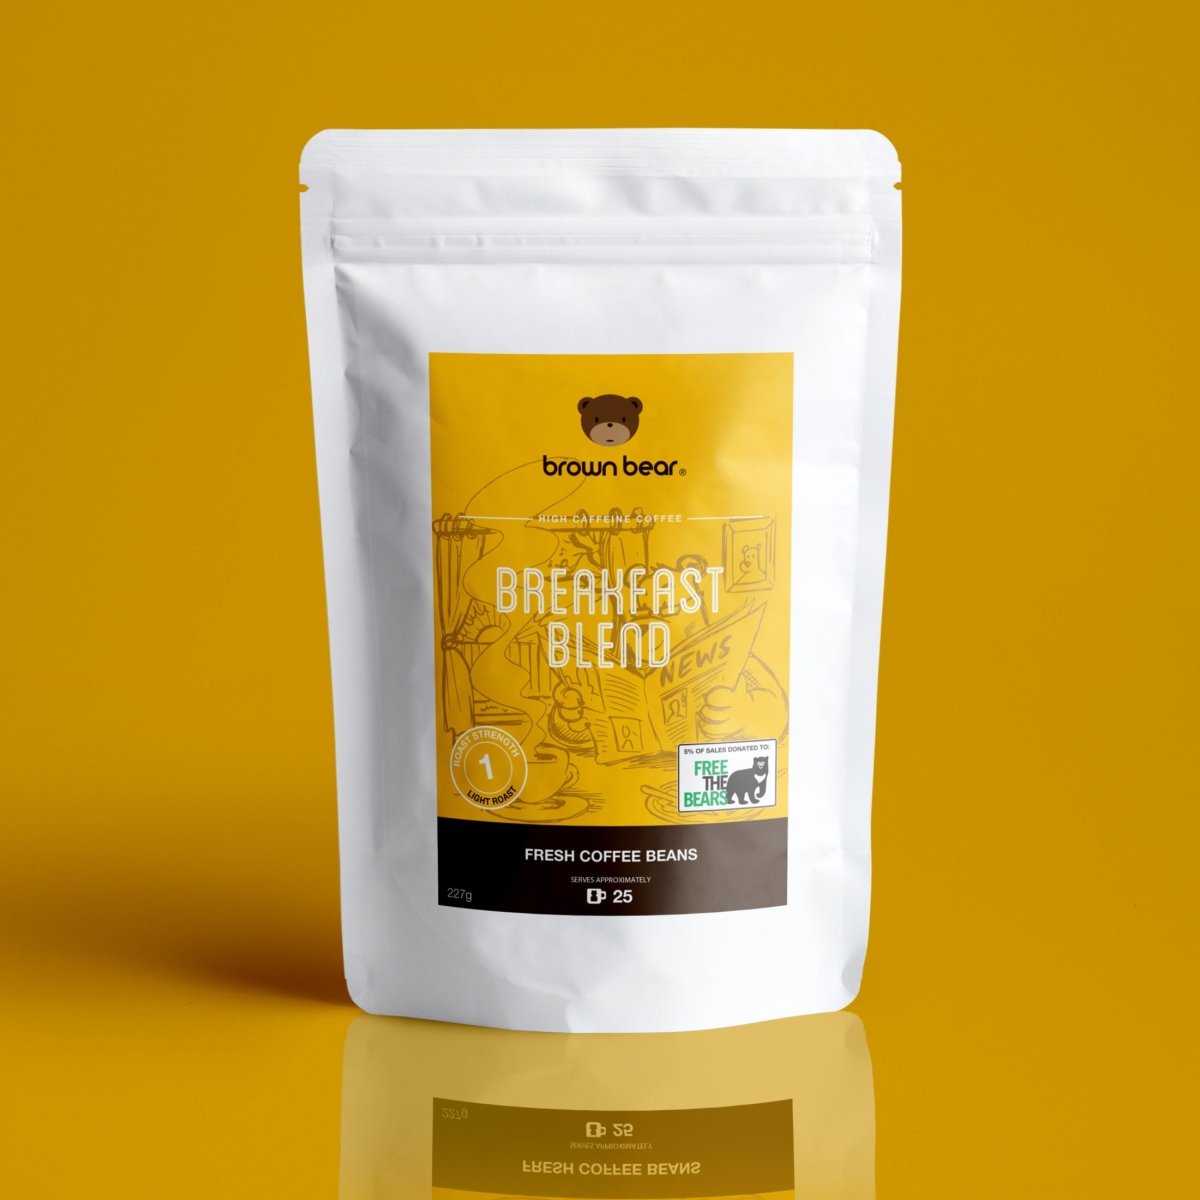
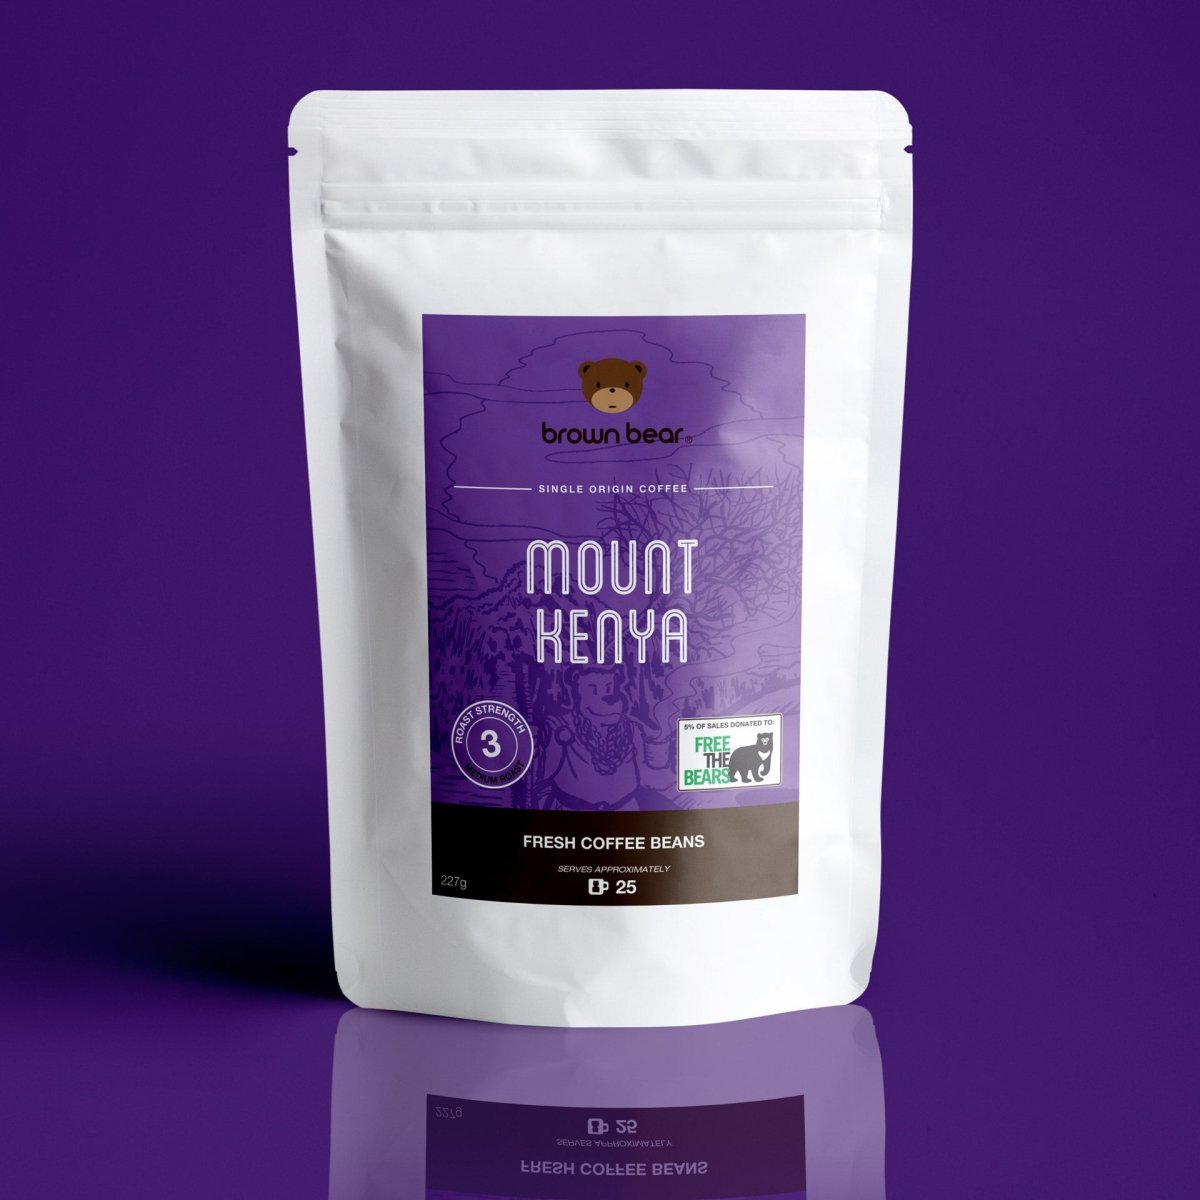
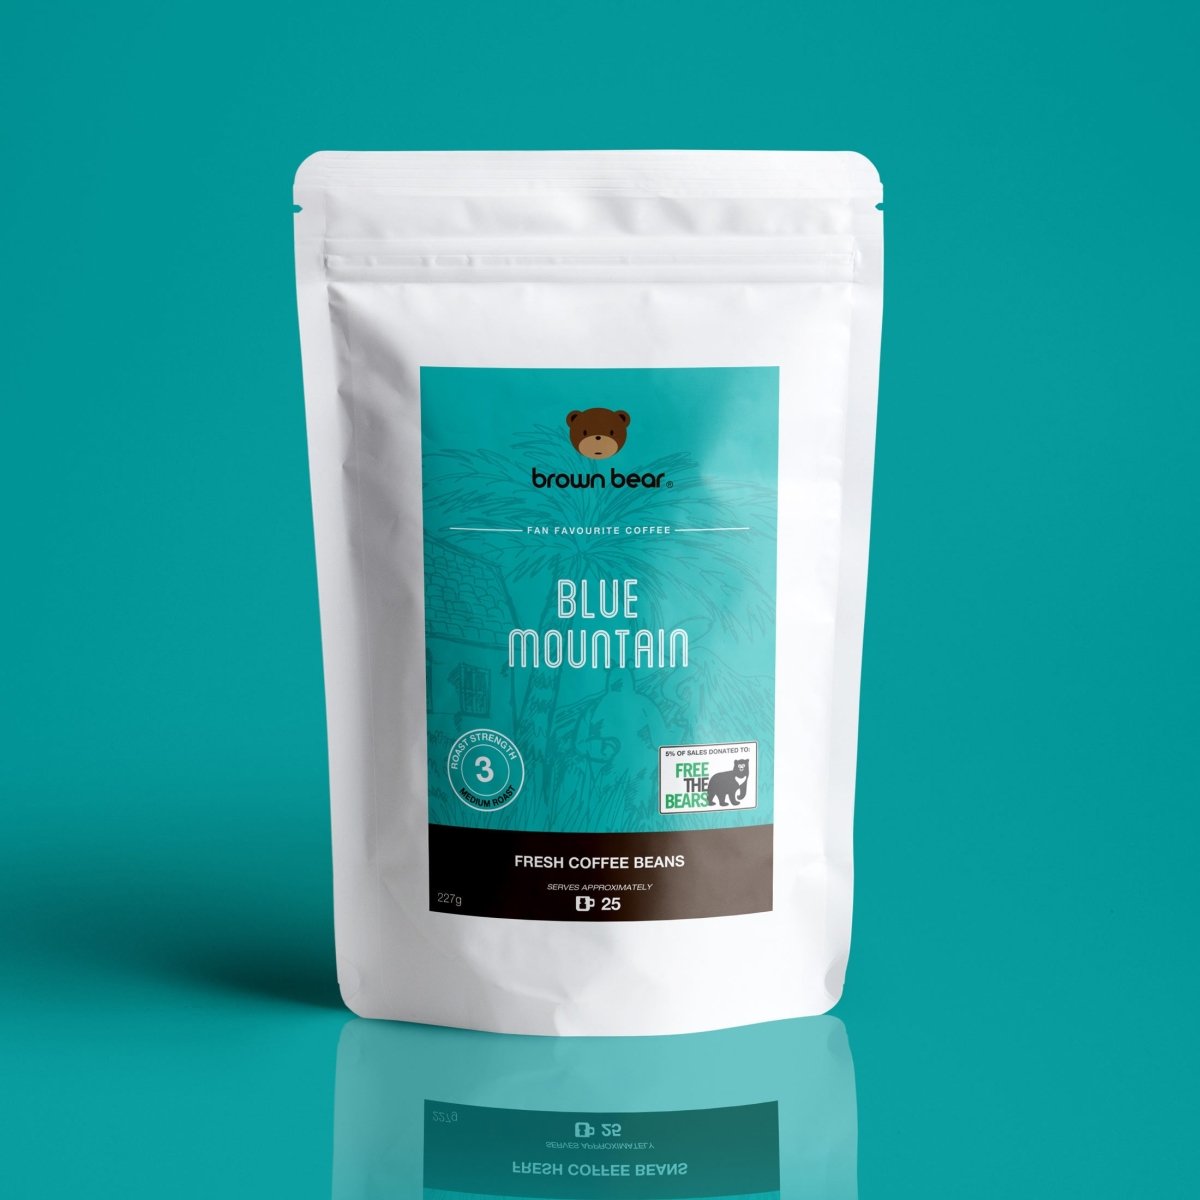
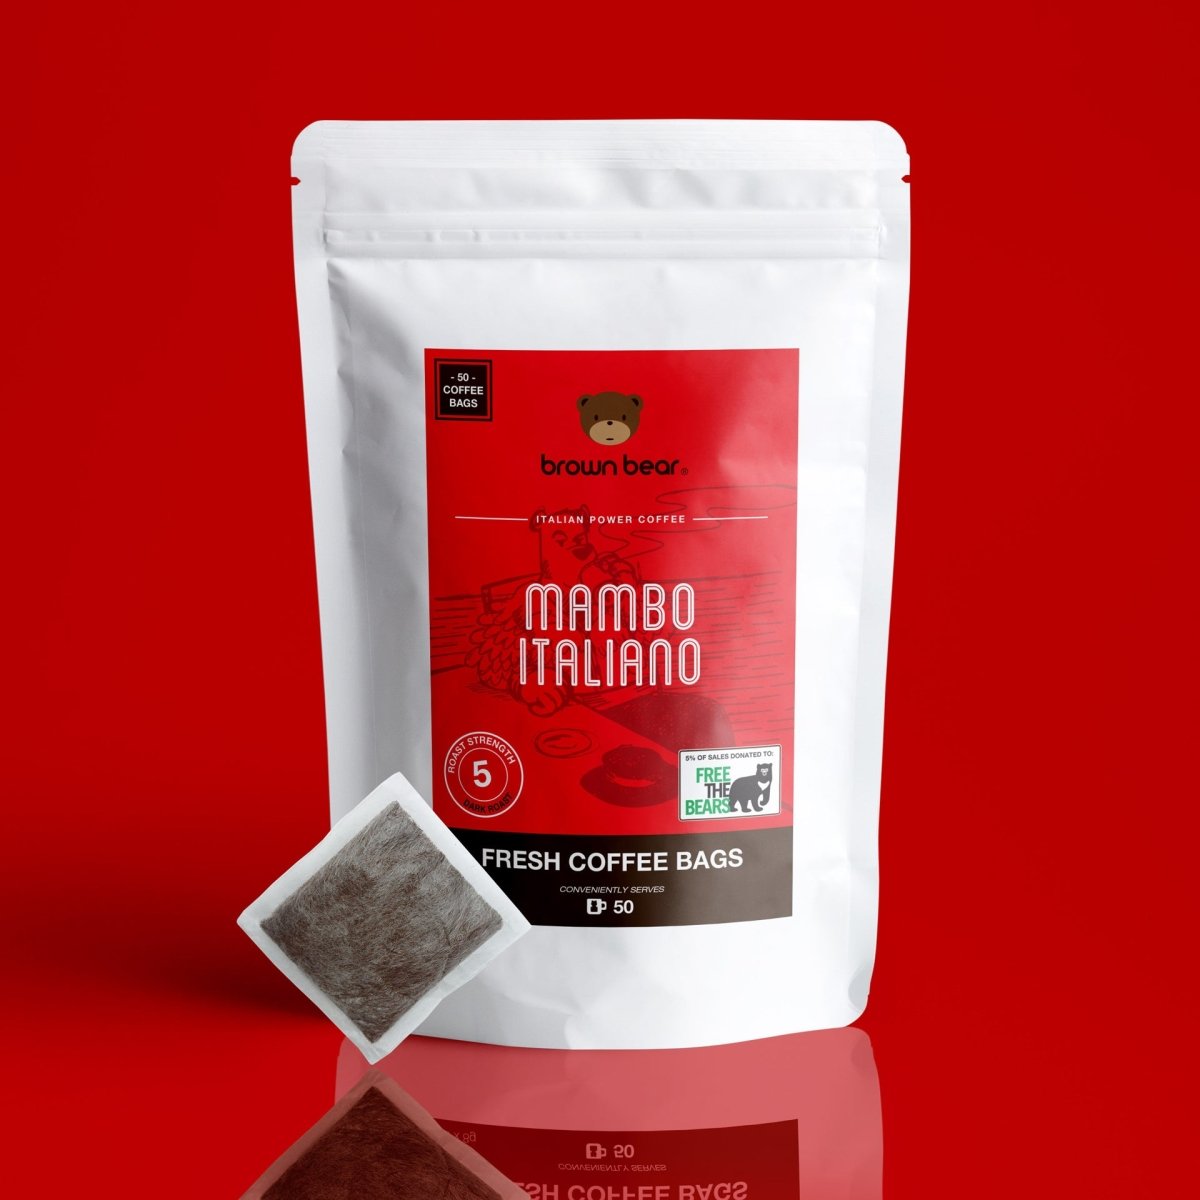
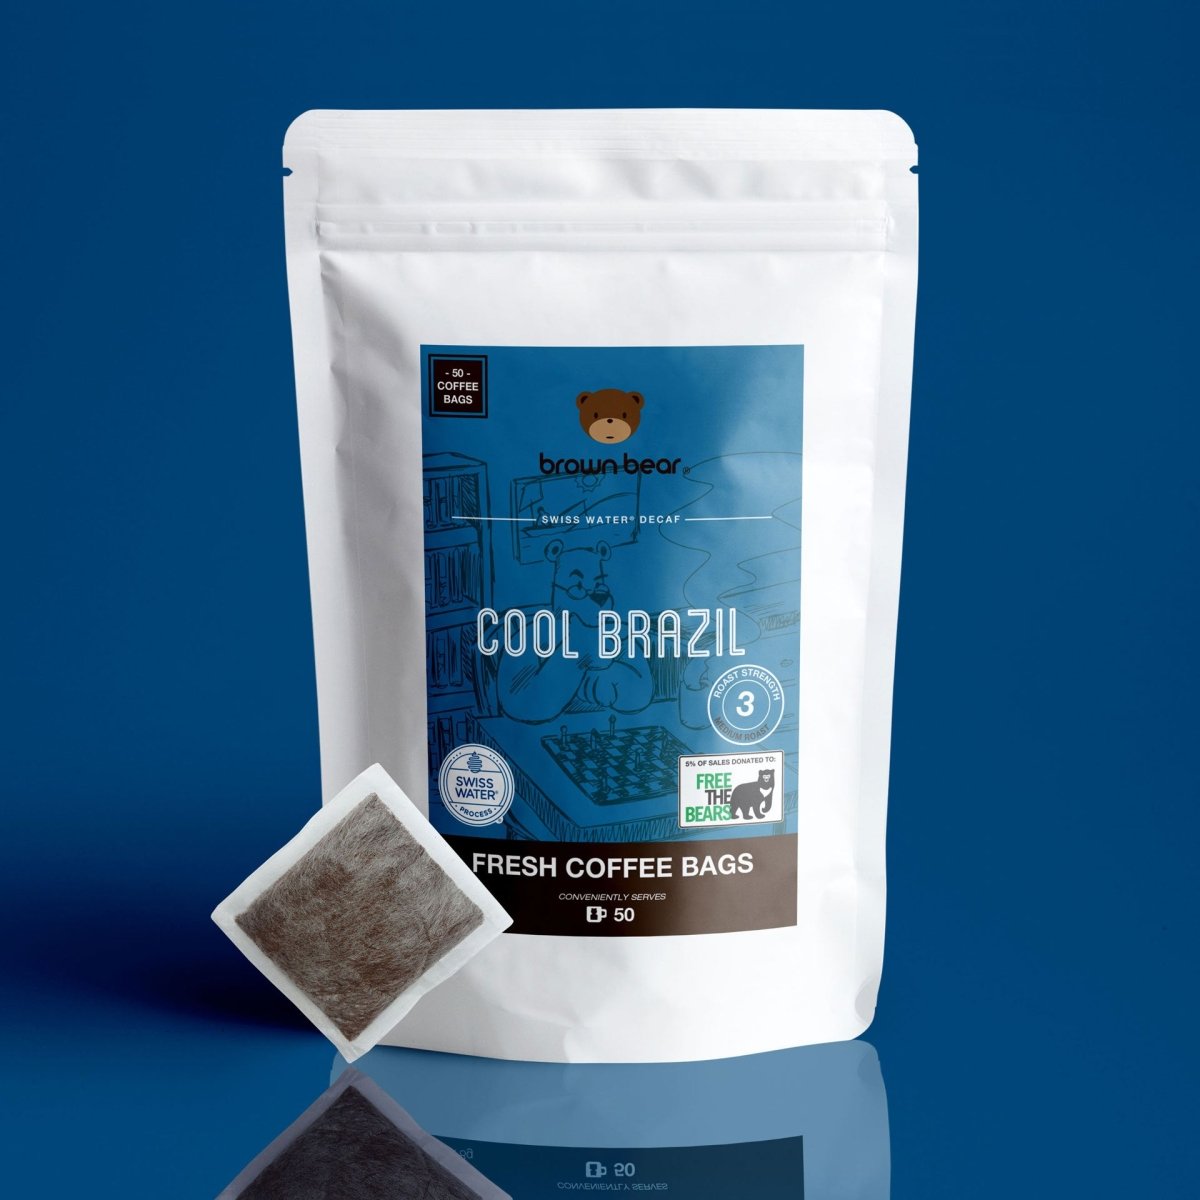
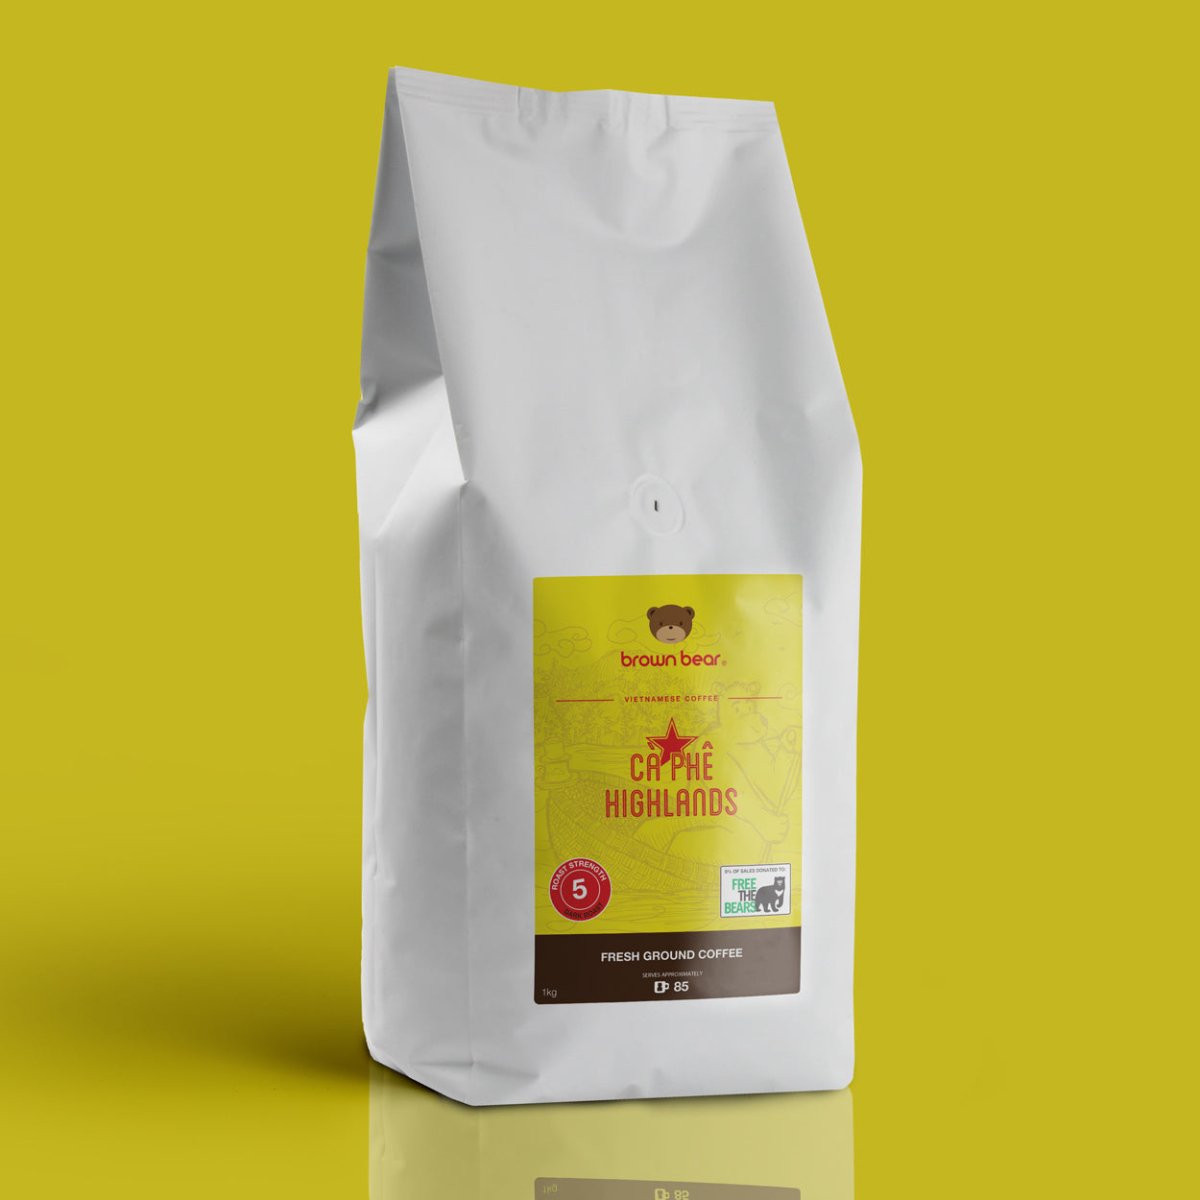
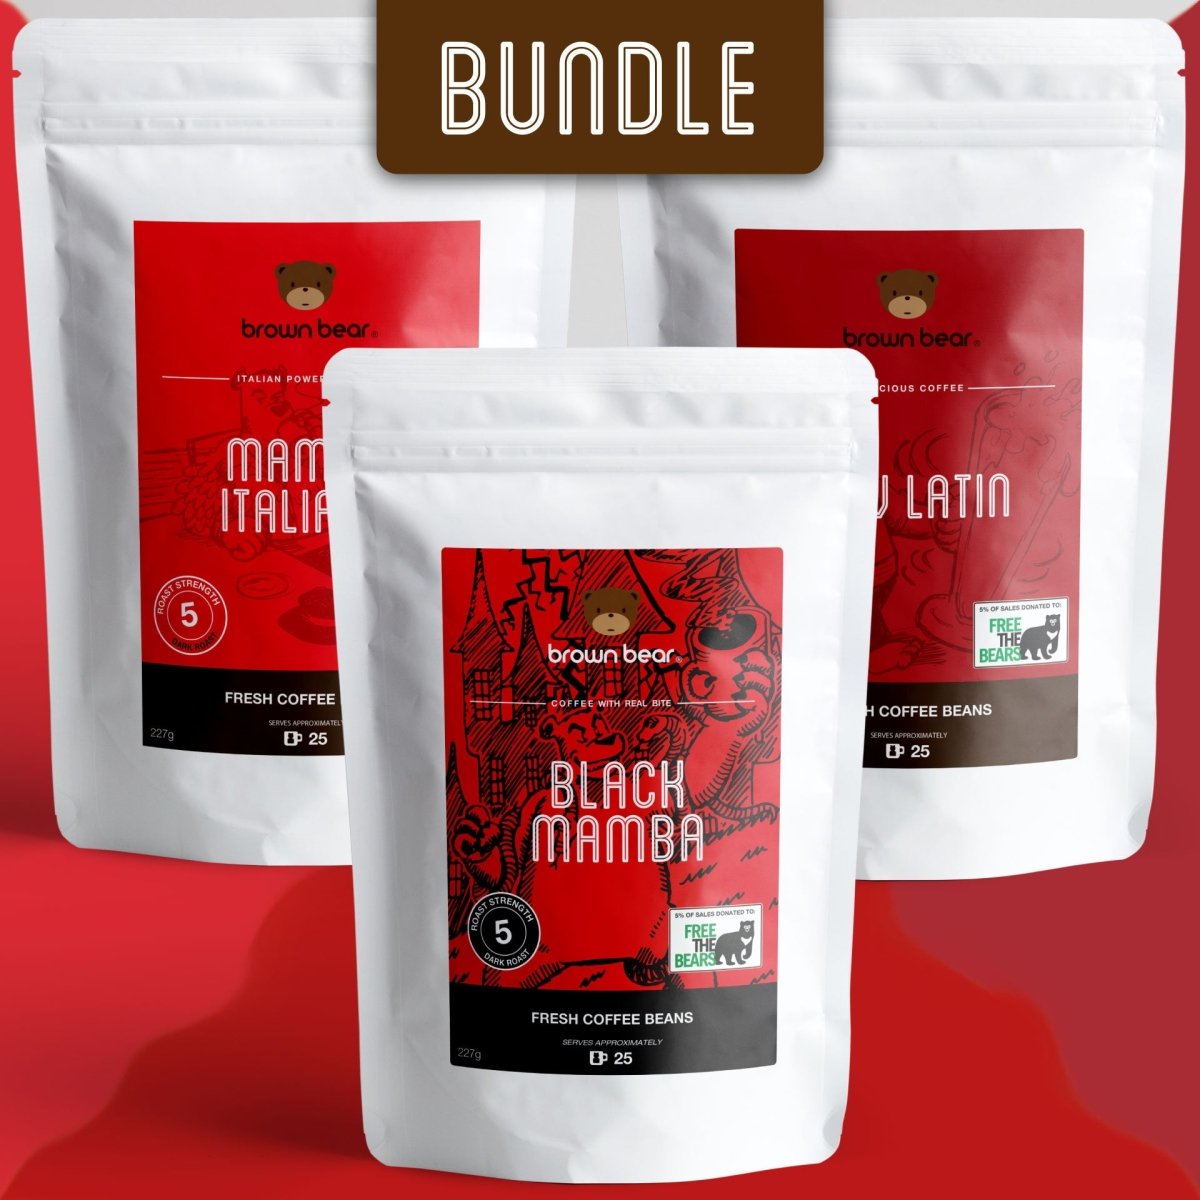
There is no single best roast for every home. If your morning coffee usually includes milk, start with a medium-dark or dark roast. If you drink it black and enjoy lively, origin-led flavours, a lighter or medium roast may be your favourite. Brown Bear coffee is organised by roast and strength to make this choice straightforward, rather than leaving you to decode a long list of tasting notes.
Get the coffee-to-water ratio right
The easiest way to improve a weak or overly intense brew is to change the amount of coffee, not randomly alter every part of the process. Begin with the 60g-per-litre rule and adjust from there.
For a stronger cup, increase the coffee slightly, perhaps to 20g for 300ml of water. For a lighter cup, reduce it to 15g. Avoid adding extra water to coffee that has already brewed if you can. That can dilute flavour, but it cannot correct under-extraction.
A coffee that tastes sour, sharp or thin has usually not extracted enough. Use a little more coffee, give it more time, or make sure your water was hot enough. A bitter, dry or harsh cup has often extracted too far. Use slightly less coffee, shorten the brewing time, or avoid leaving grounds sitting in the brewed coffee.
Brew ground coffee in a cafetière
The cafetière is one of the most forgiving ways to brew ground coffee. It creates a full-bodied cup because the metal mesh filter allows natural coffee oils through. It is ideal for relaxed breakfasts, home-working refills and making several cups at once.
Warm the cafetière with hot water, then empty it. Add your coffee - 18g for 300ml, or 30g for a 500ml two-cup brew. Pour in water just off the boil, making sure all the grounds are wet. Give it a gentle stir after 30 seconds, then place the lid on without plunging.
Leave it for four minutes. Slowly press the plunger down with steady, light pressure. If it resists, do not force it, as this can send fine grounds into the cup. Pour straight away. Leaving coffee in the cafetière continues extraction and can make the final mug taste bitter.
A little sediment in the bottom of the cup is normal with a cafetière. If you prefer a cleaner finish, let the brewed coffee sit for another minute before plunging, then pour carefully.
Make filter coffee with a dripper or machine
Paper-filter coffee is clean, bright and easy to drink black. A manual dripper gives you more control, while an electric filter machine is excellent when convenience matters most. The basics are nearly identical.
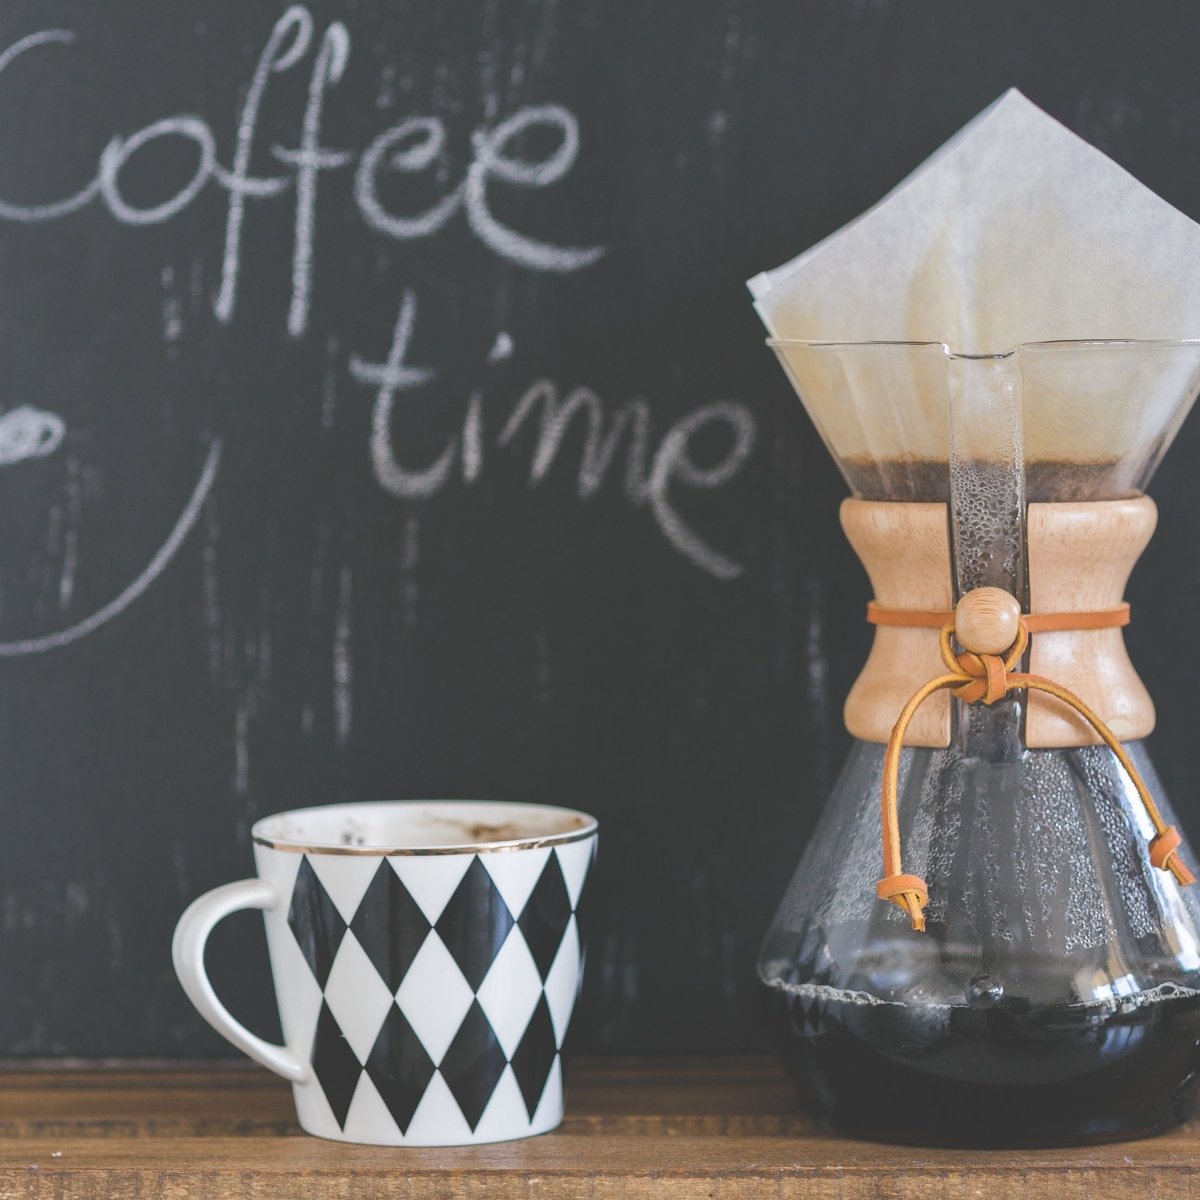
Place the paper filter in the dripper or machine basket and rinse it with hot water first. This removes any papery taste and warms the brewer. Tip away the rinse water, add the ground coffee, then level the bed with a gentle shake.
For a manual dripper, pour just enough hot water to wet all the grounds and wait 30 seconds. This brief bloom lets trapped gas escape, helping water move evenly through the coffee. Continue pouring slowly in small circles, keeping the water level steady rather than filling the dripper to the top. A 300ml brew should usually finish dripping in about three to four minutes.
With a filter machine, use the same starting ratio and let the machine do the work. The main watch-out is time: do not leave brewed coffee warming on a hot plate for ages. It quickly loses its sweetness and can take on a cooked flavour. Transfer it to a thermal flask if you are making enough for the morning.
Can you use ground coffee for espresso?
You can, but it depends on the grind. Espresso needs finely ground coffee and pressure. Standard pre-ground coffee is often too coarse for a traditional espresso machine, so water runs through too quickly and produces a weak, sharp shot. Ground coffee labelled for espresso is a better fit.
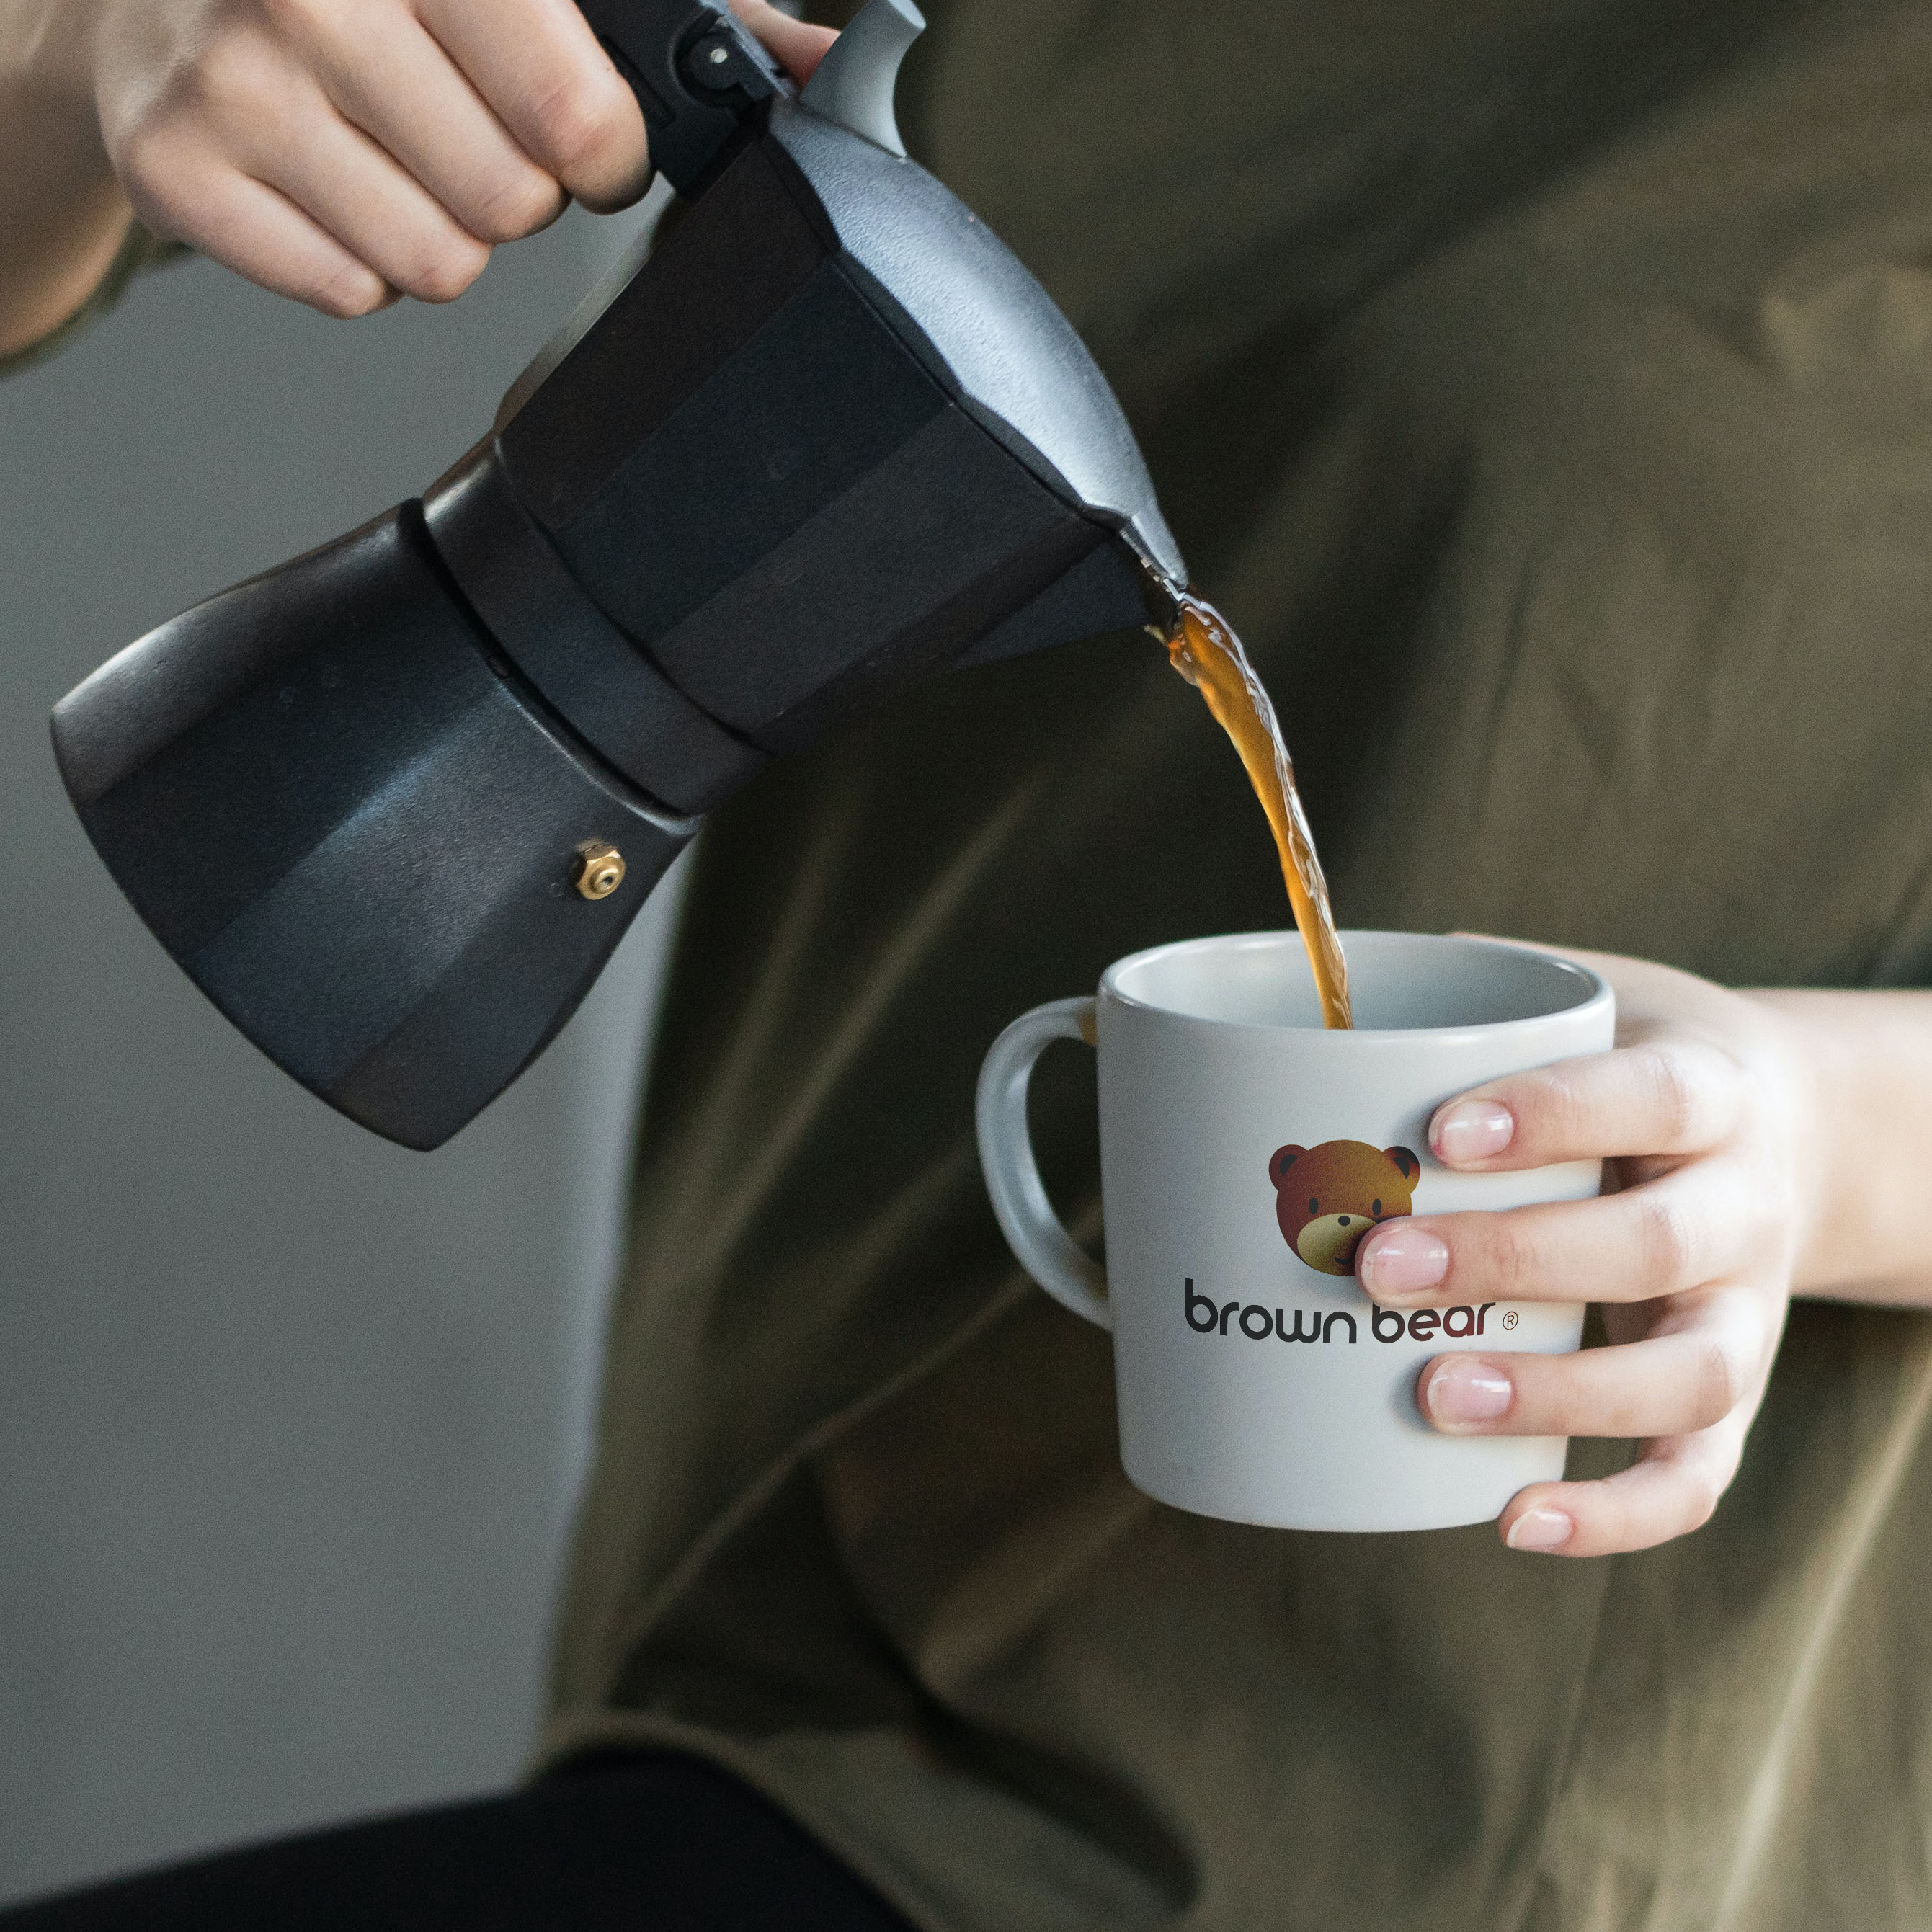
If you use a moka pot, choose coffee that is medium-fine rather than powdery. Fill the basket loosely and level it without tamping down. Use hot water in the lower chamber to reduce the time the pot sits over the heat, then brew on a low flame or low hob setting. Take it off the heat as soon as the flow turns pale and sputters. This keeps the cup rich rather than burnt.
For pod-style or bean-to-cup machines, follow the maker's guidance. These systems are designed around particular coffee formats, and forcing the wrong grind into them can cause uneven results or unnecessary mess.
Small habits that make a bigger difference
Ground coffee has more surface area exposed to air than whole beans, so it loses its peak flavour faster. Keep it in an airtight container, away from sunlight, heat and steam. A cool cupboard is better than the fridge, where moisture and food odours can affect it.
Only open the bag when you are ready to refill your container, and buy a size you can comfortably use while it still tastes fresh. If your household gets through coffee quickly, a larger bag may be practical. If you switch between decaf, dark roast and lighter coffees, smaller packs let you keep each option at its best.
Clean equipment matters too. Coffee oils build up in cafetières, filter baskets and reusable filters, creating a stale taste that no new bag of coffee can hide. Wash removable parts after use, and give your brewer a more thorough clean regularly.
Fix a disappointing cup before changing coffee
When a brew tastes wrong, make one change at a time. That is how you find what actually helped. Try this simple approach:
- If it tastes weak or watery, use more coffee.
- If it tastes bitter and drying, brew for less time.
- If it tastes sour or hollow, use hotter water or a longer brew.
- If it tastes flat, check the coffee's freshness and clean your equipment.
The best home brew is not the one made with the most kit. It is the one you can make confidently before work, share at the weekend and look forward to drinking. Start with the ratio, give the grounds the right amount of time, and let your own taste decide where to go next.

